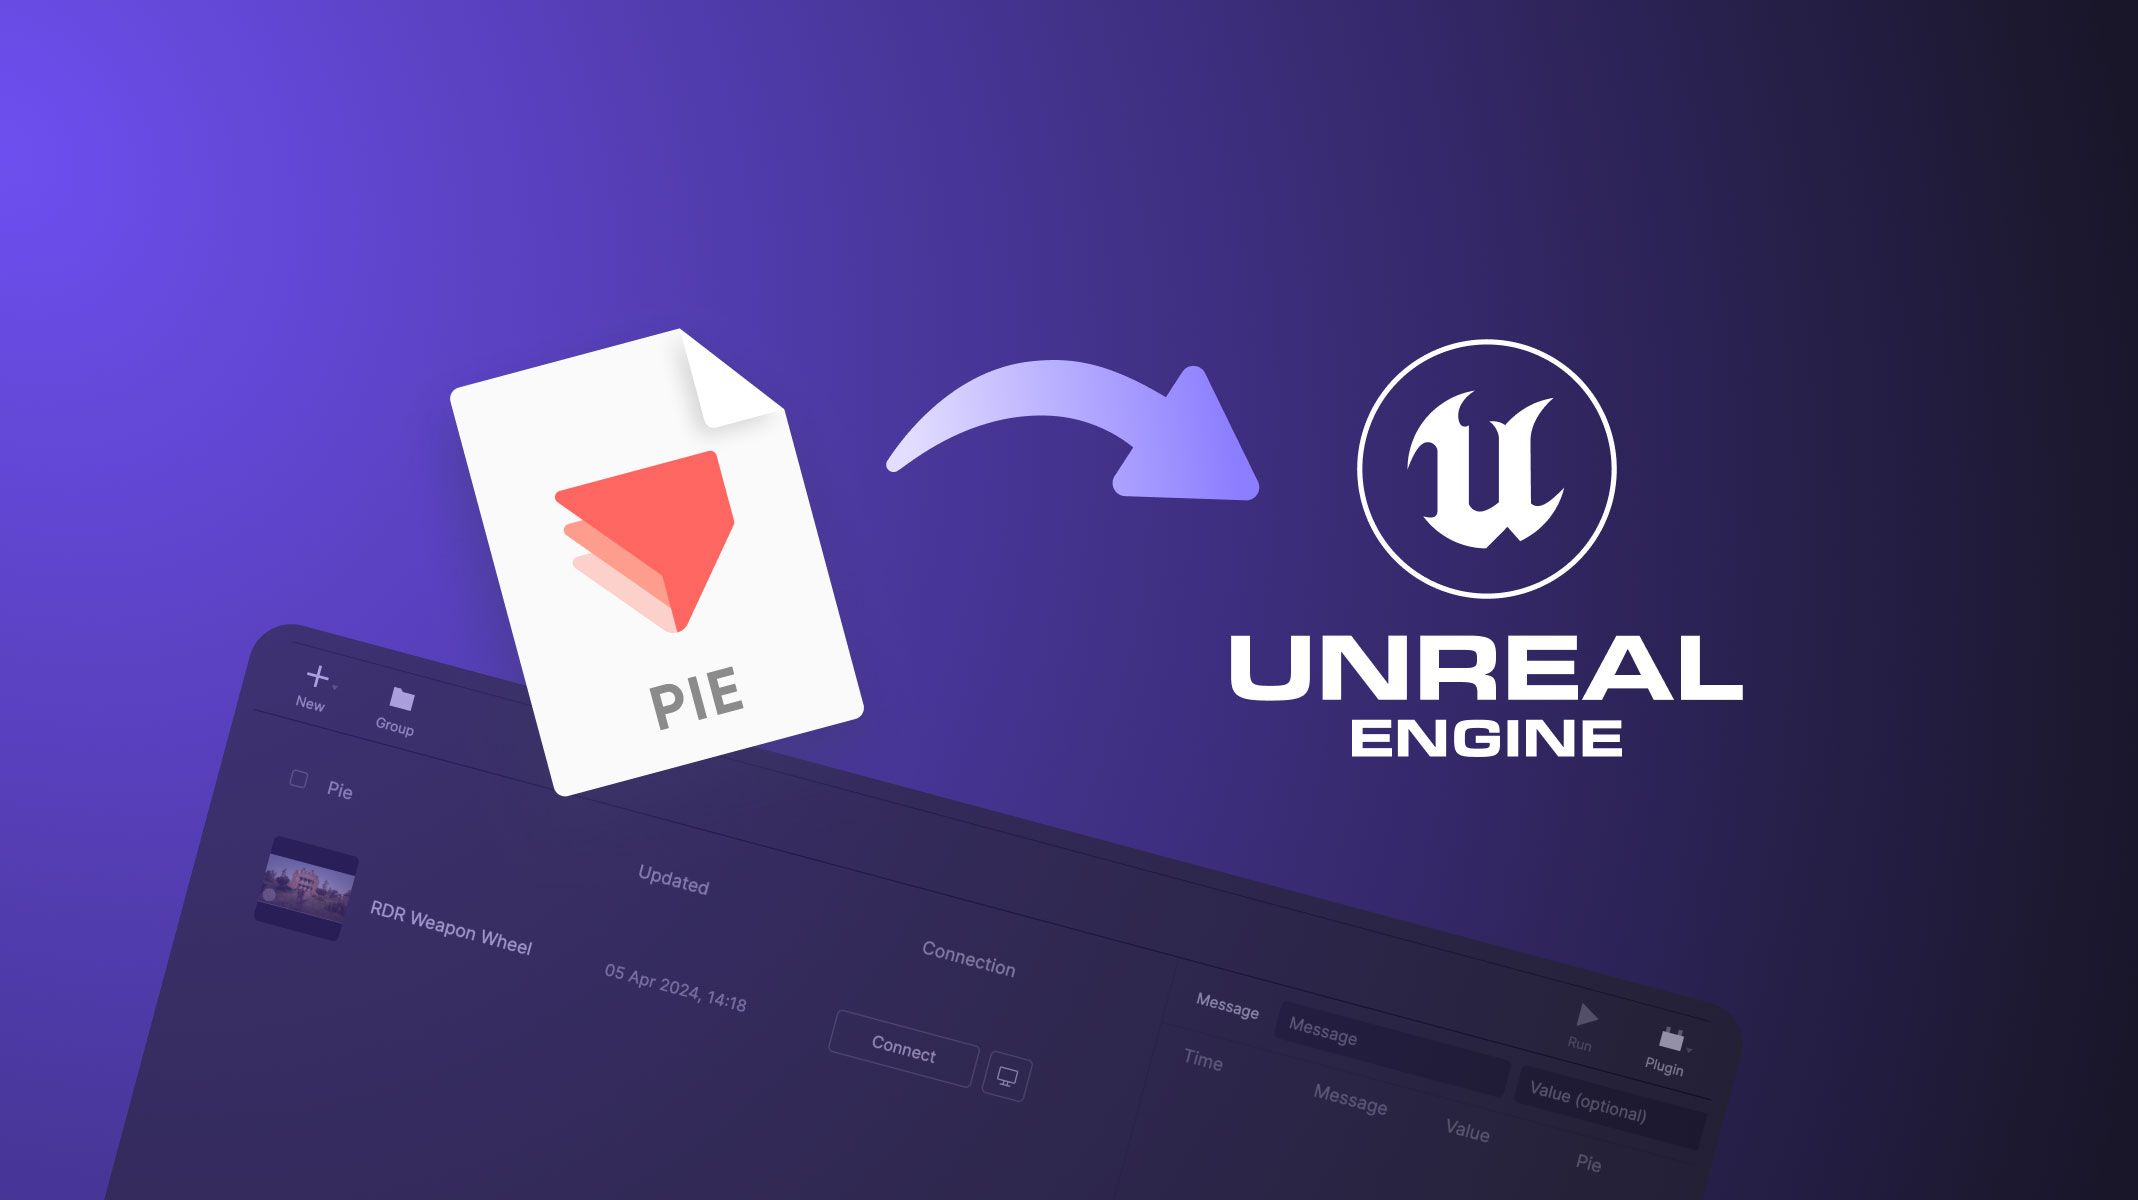
Integrating Unity WebGL Build with ProtoPie Connect Web-Embed Layer
A comprehensive and detailed guide on integrating Unity WebGL build with ProtoPie Connect using web-embed layer.

.jpg?fm=webp)
Discover the robust capabilities of ProtoPie Connect, an essential prototyping tool for designers and developers alike. This guide details how to integrate Unity WebGL build files seamlessly with ProtoPie Connect, allowing you to refine user interfaces and optimize menu flows effortlessly.
Follow these clear, step-by-step instructions to embed your Unity WebGL builds into ProtoPie Connect using the Web-Embed layer. Embark on this transformative journey and take your design workflow to the next level.
Disclaimer: This tutorial requires using ProtoPie Connect Enterprise. For more information on ProtoPie Connect, please contact ProtoPie sales. Also, check out this Blog about ProtoPie Connect.
Overview
- Step 1. Building a WebGL File in Unity
- Step 2. Uploading to GitHub
- Step 3. Running your game in a web browser
- Step 4. Integrate with ProtoPie Connect
Step 1. Building a WebGL File in Unity.
1. Open your project: Start by opening your existing Unity project.
2. Switch Platform to WebGL
- Go to
File > Build Settings. - Select
WebGLfrom the platform list. - Click
Switch Platformto change the build target to WebGL.

3. Configure Build Settings
- Go to
Edit > Player Settings. - Customize settings under
Resolution and Presentationaccording to your needs. This tutorial uses thePWAsetting for full-width resolution.

💡 TIP: You might encounter a compression error when running your WebGL project in a browser from your host server, as shown below:

If you encounter the above error when trying to run your webGL file, one solution is to change the compression format in Unity.
- Go to
Edit > Player Settings > Player > Publishing Settings > Compression format. - Adjust the settings to fit your project's needs. This tutorial uses the "Brotli" compression settings to produce no running errors when hosting and running Unity WebGL projects from GitHub.

4. Build the project.
- In the
Build Settingswindow, clickBuild. - Choose a location on your computer to save the build files and wait for Unity to compile the project.

Step 2. Uploading to GitHub.
1. Prepare your build for upload:
- Ensure that your build folder contains an
index.htmlfile along with the.jsand.datafiles necessary for running the game.

2. Create a new repository:
- Log into your GitHub account.
- Navigate to the Repositories tab and click
New. - Name your repository and set it to public (if you want anyone to access it).
- Create repository.

3. Upload files:
- Go to your repository’s main page and click the
uploading an existing filelink.

- Drag and drop your build files or use the file navigator to select your WebGL build folder.
- Commit the changes directly to the main branch.

Step 3. Running your game in a web browser.
1. Enable GitHub pages:
- Go to your repository settings.

- Scroll down to the
GitHub Pagessection. - Select the
mainbranch and/ (root)as the source. Save the settings.

- GitHub will provide a URL where your project is hosted live. It might take a few minutes for the page to become active. Refresh the page after a few minutes to view the URL.

2. Access your game:
- Once GitHub Pages is enabled and operational, visit the provided URL.
- Your Unity WebGL game should load directly in the browser.
💡 TIP: If you get an error 404 when you follow the provided URL, don’t panic. This happens if your files are in a sub-folder instead of the root folder.

As seen below our files are in subfolder /.._GamePlay/PP_rpg/ the root folder is /.._GamePlay

To solve this just add the subfolder name to the URL link and the Unity project should run. In this tutorial adding /PP_rpg/ to the URL.

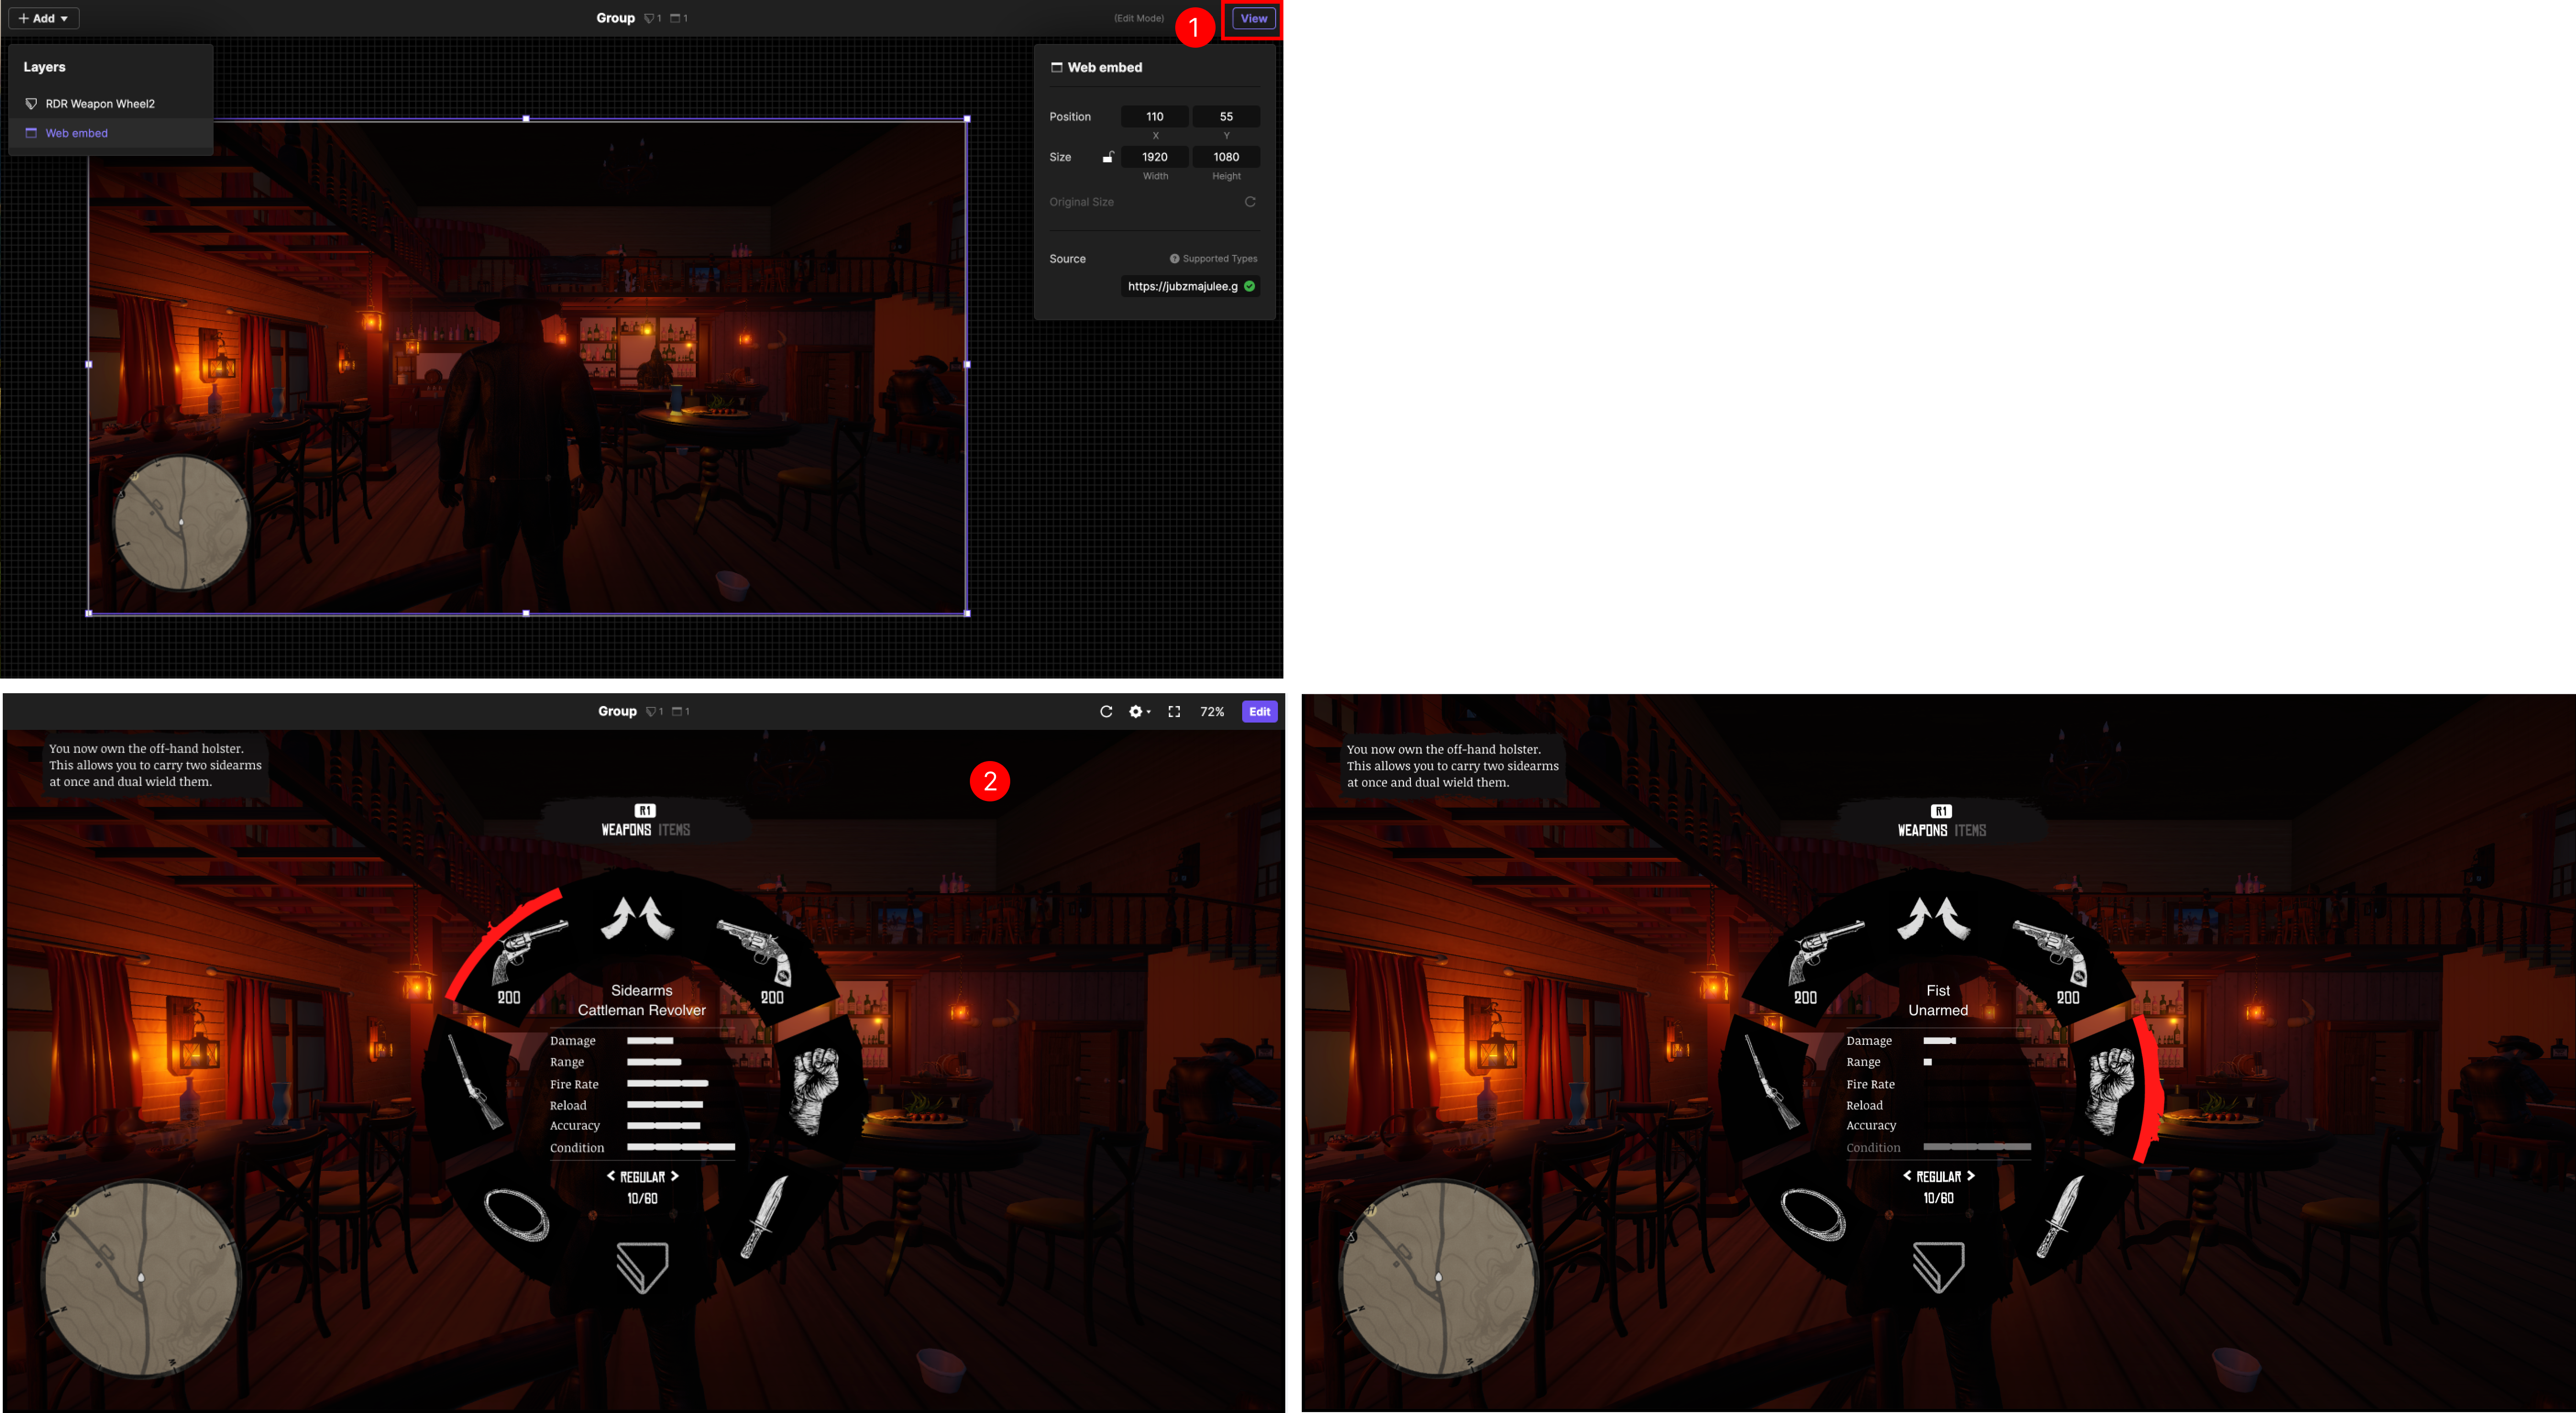
Step 4. Integrate with ProtoPie Connect.
1. Open Pie file in ProtoPie Connect
- Launch ProtoPie Connect and import your prototype, selecting either from the Cloud (Enterprise only) or uploading a local Pie file. Check your network settings and permissions to avoid connectivity issues when loading prototypes from the Cloud.
2. Create a group and view Pie file
- Create a
Group, drag and drop to move your Pie file into the group. Click the web browser icon to open the Pie in a browser.

3. Edit group
- Right click on the page to view the ProtoPie Connect top bar menu UI and select
Edit

- In Edit view click the
+Addmenu and select theWeb Embed. - You can re-arrange layers within the layer window with drag and drop to set up a hierarchy.
- Resize the web view window according to your preference or project requirements.
- Copy the GitHub link from Step 3 and paste it into the Source input. The unity file will load and run.

4. View Integrated prototype
- Select
Viewat the top menu to go back to View mode - You can right click the mouse to hide the ProtoPie Connect top menu UI.
.png?fm=webp)
Using the web-embed layer, you successfully integrated the Unity WebGL build into ProtoPie Connect. This integration enables an enriched interactive experience, allowing your Unity projects to be seamlessly incorporated within ProtoPie prototypes. As a result, you can now leverage the powerful 3D and game engine capabilities of Unity directly in your UX/UI designs, enhancing the realism and responsiveness of your prototypes.
Moving forward, you can explore further customization and optimization possibilities, ensuring that your prototypes meet and exceed user expectations.

.jpg?fm=webp)
