ProtoPie Genie
ProtoPie Genie is a Figma plugin that enhances your design quality and workflow by enabling dynamic interactions directly with your Figma prototypes. With ProtoPie Genie, you can quickly create interactive elements, test various scenarios, and deliver compelling prototypes that effectively showcase your designs.
Overview
ProtoPie Genie simplifies dynamic interaction testing, accelerates prototype delivery, and elevates prototype experiences through:
- Fast prototype delivery: Transform static designs into interactive prototypes quickly.
- Dynamic interaction testing: Test various scenarios and interactions seamlessly.
- Impressive prototyping experience: Impress your team, clients, and stakeholders with prototypes that feel alive.
Getting Started
Follow these instructions to install the ProtoPie Genie plugin.
- Visit the Figma Community page.
- Choose "Open in..." to select the appropriate file for future tasks.
- Click “Run” to launch “ProtoPie Genie”.
Alternatively, right-click in Figma, navigate to the plugins menu, and select "ProtoPie Genie.”
![[object Object]](https://cdn.sanity.io/images/vidqzkll/production/60af64507d17fae167486a3b1a39c4de6fee97ec-1434x794.png/Screenshot-2024-05-13-at-11.16.46%E2%80%AFAM.png)
Key Features
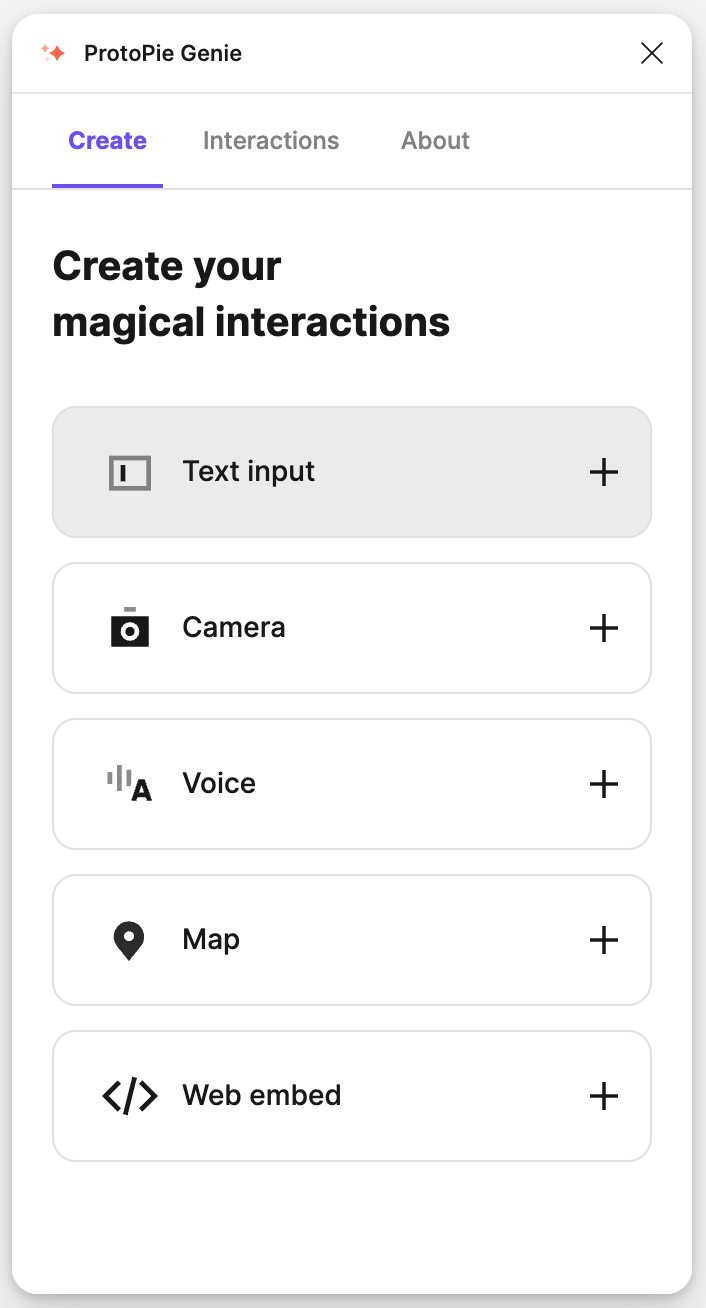
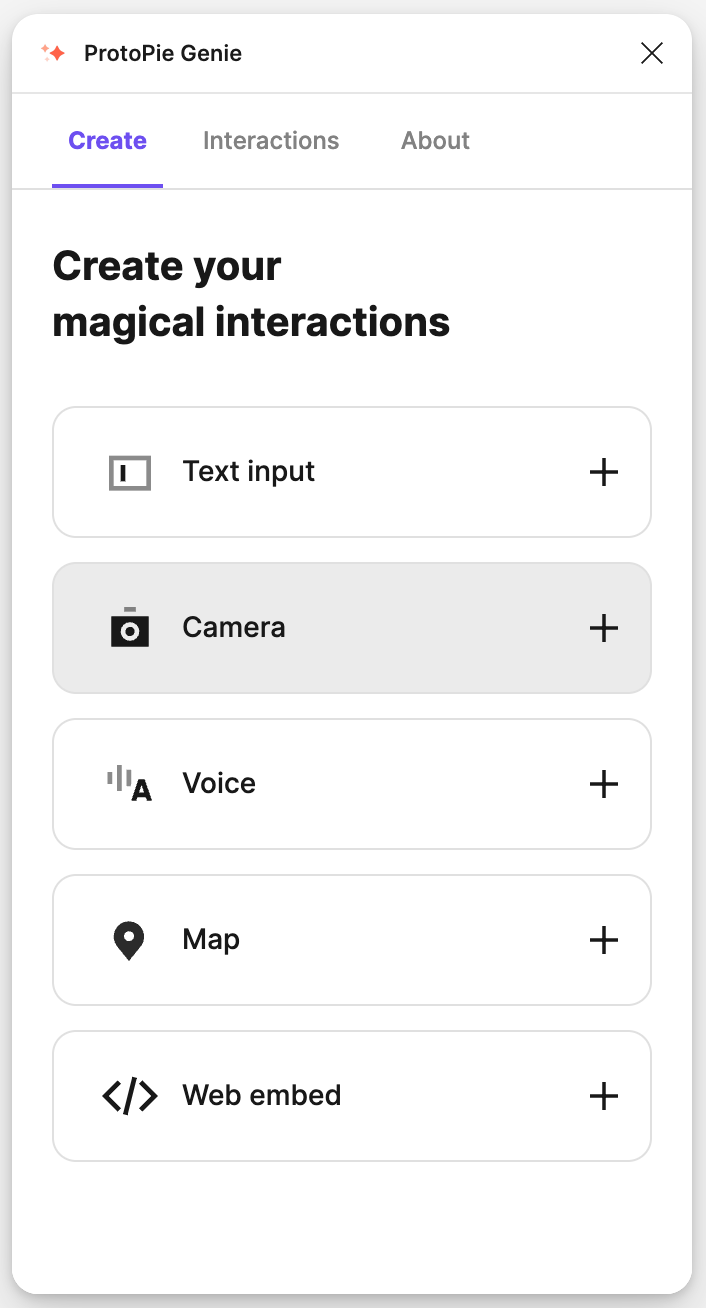
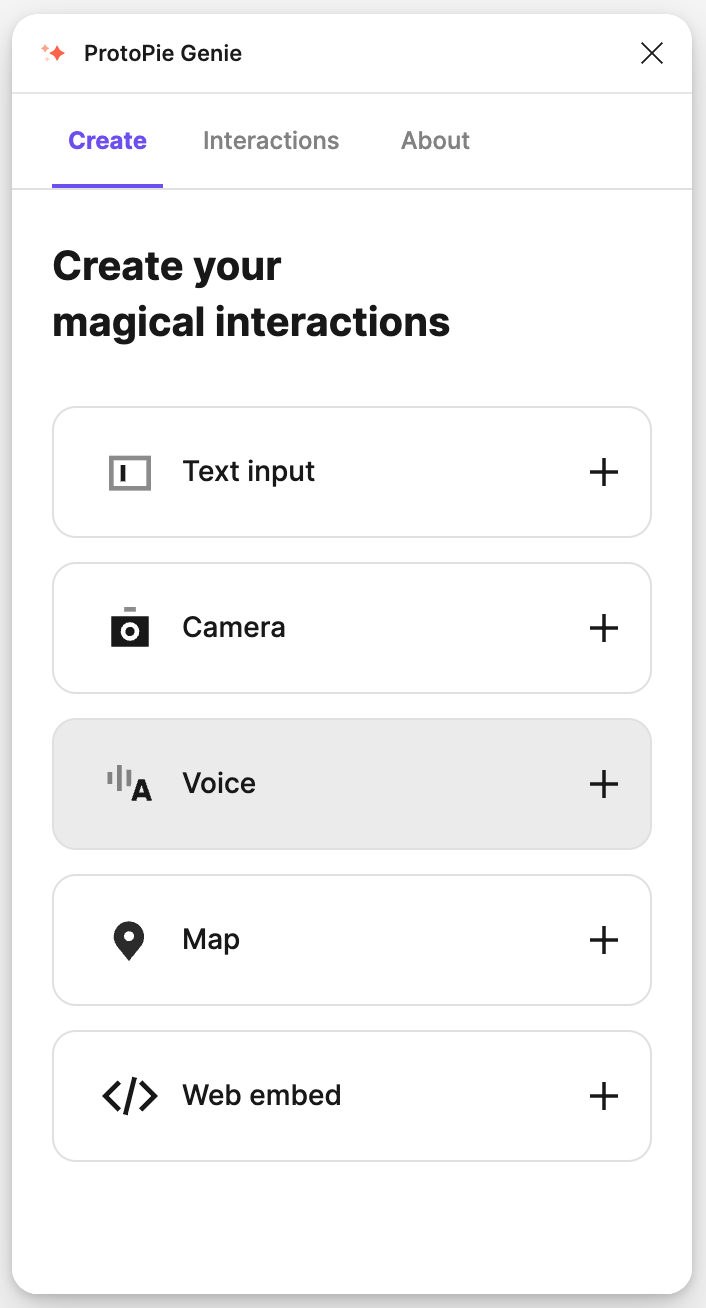
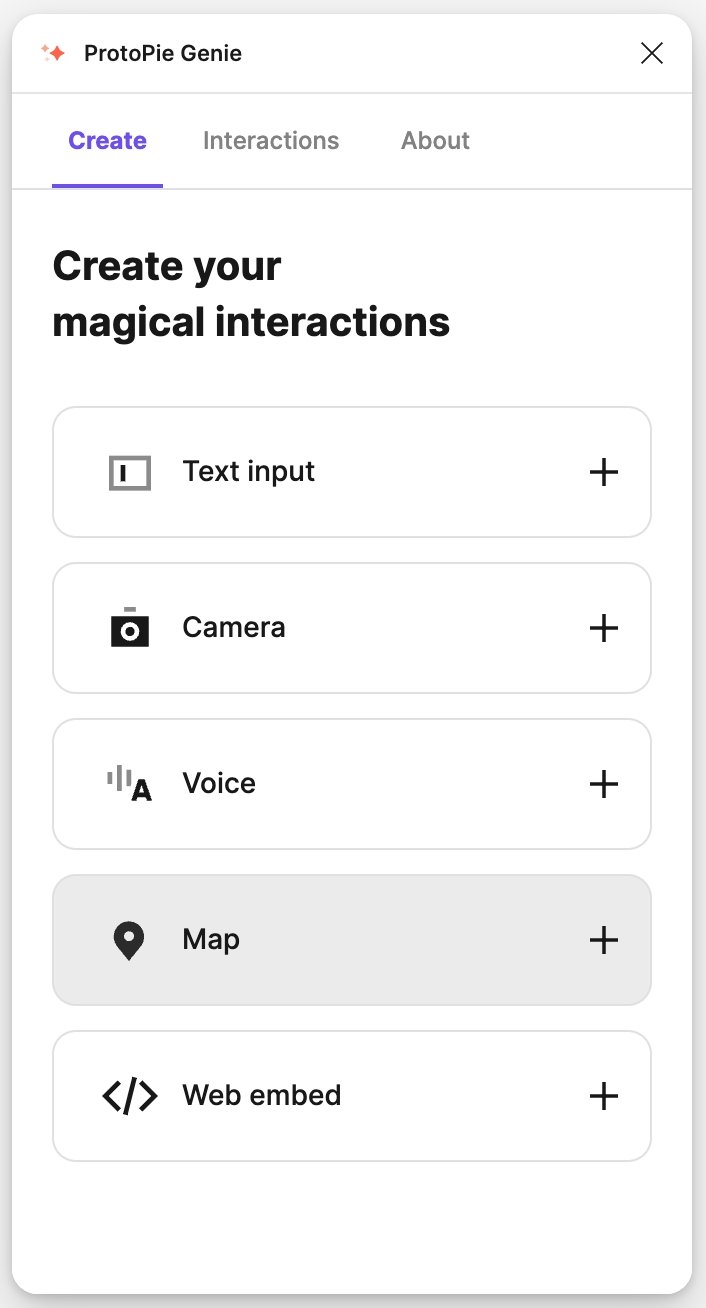
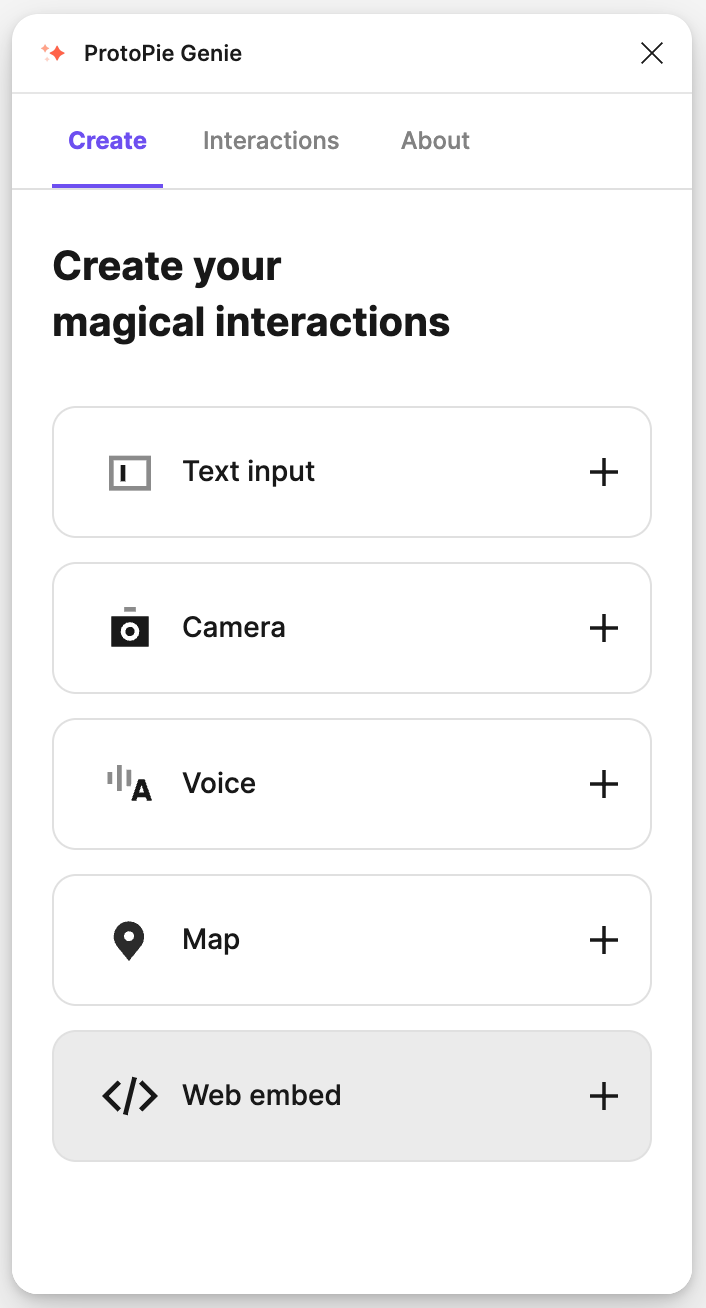
ProtoPie Genie allows you to incorporate a variety of interactive elements into your prototypes, enhancing user engagement:
- Text Input: Capture user input directly within the prototype and display it in real time.
- Camera: Integrate real-time camera views for immersive interactions.
- Voice: Implement speech-to-text and voice command functionalities for intuitive user experiences.
- Maps: Easily incorporate customizable maps into your designs.
- Web embed: Embed web content, such as videos, to enrich the user experience.
Adding Interactive Elements
Below are steps to add specific features such as text input, camera views, voice interaction, maps, and web embeds.
Adding Text Input
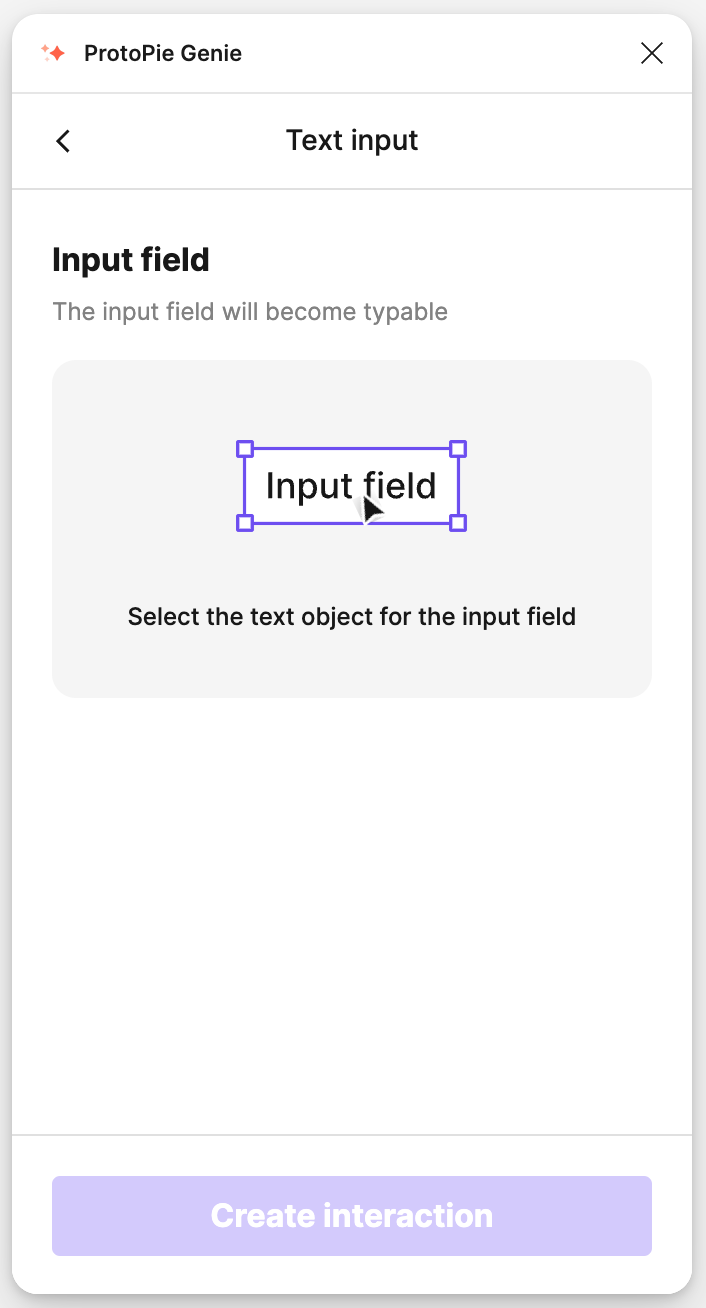
Transform text objects into interactive input fields to simulate user interactions.
Steps:
- Select the text object you want to convert into an input field.
- Click the “Text input” button to set the value source.
- Click “Create interaction” to activate the input field.
- Click “Add” in the output field section to assign output items.
- Choose a text object for displaying the output.
- Preview the interaction in your browser.
Adding Camera Views
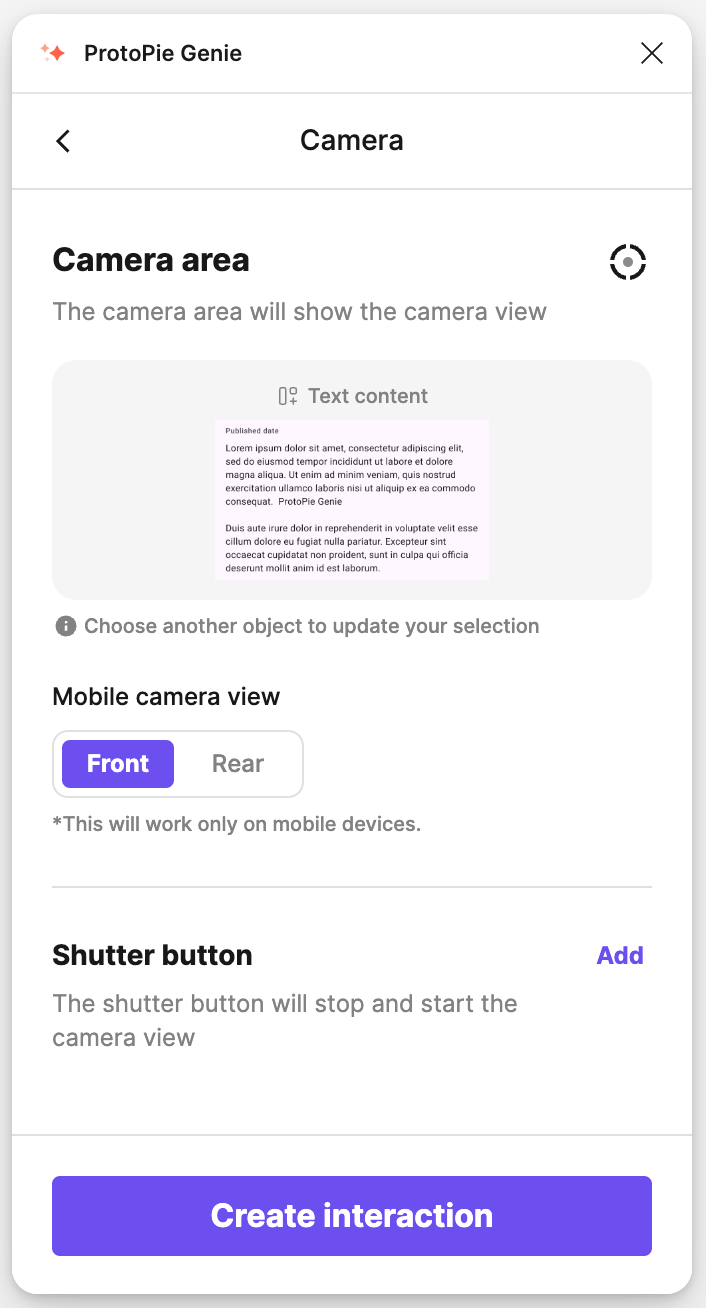
Integrate live camera views into your prototypes.
Steps:
- Choose a rectangle shape for the camera area.
- Select front or back camera view.
- Insert a rectangle or ellipse shape for the shutter button.
- Click ‘Create interaction’ to finalize the setup.
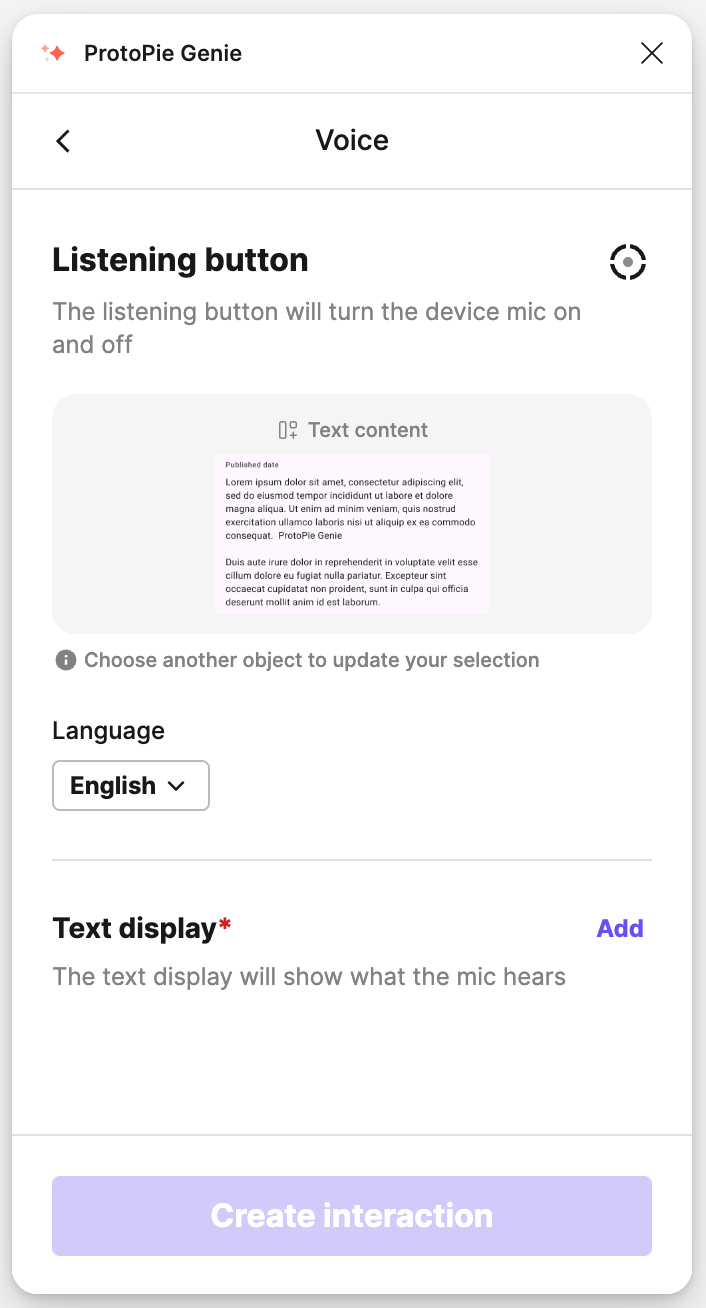
Adding Voice Interaction
Incorporate voice recognition into your prototype.
Steps:
- Choose a rectangle or ellipse shape for the listening button.
- Select the language for speech-to-text.
- Assign a text object for the transcribed text.
- Click ‘Create interaction’ to implement voice interaction.
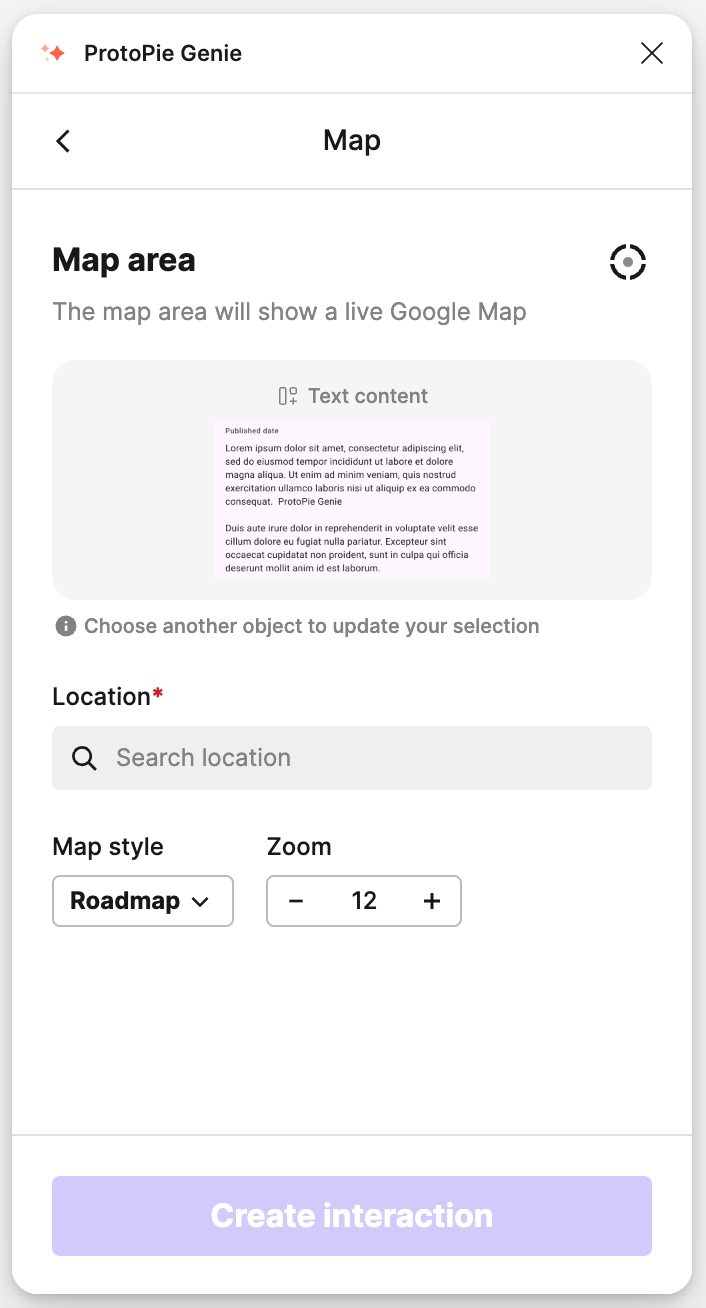
Adding Live Maps
Integrate interactive maps with customizable settings.
Steps:
- Choose a rectangle shape for the map display.
- Search and select a location to display on the map.
- Customize map style and zoom level.
- Click ‘Create interaction’ to finalize the map integration.
Adding Web-Embeds
Embed videos and other web content seamlessly.
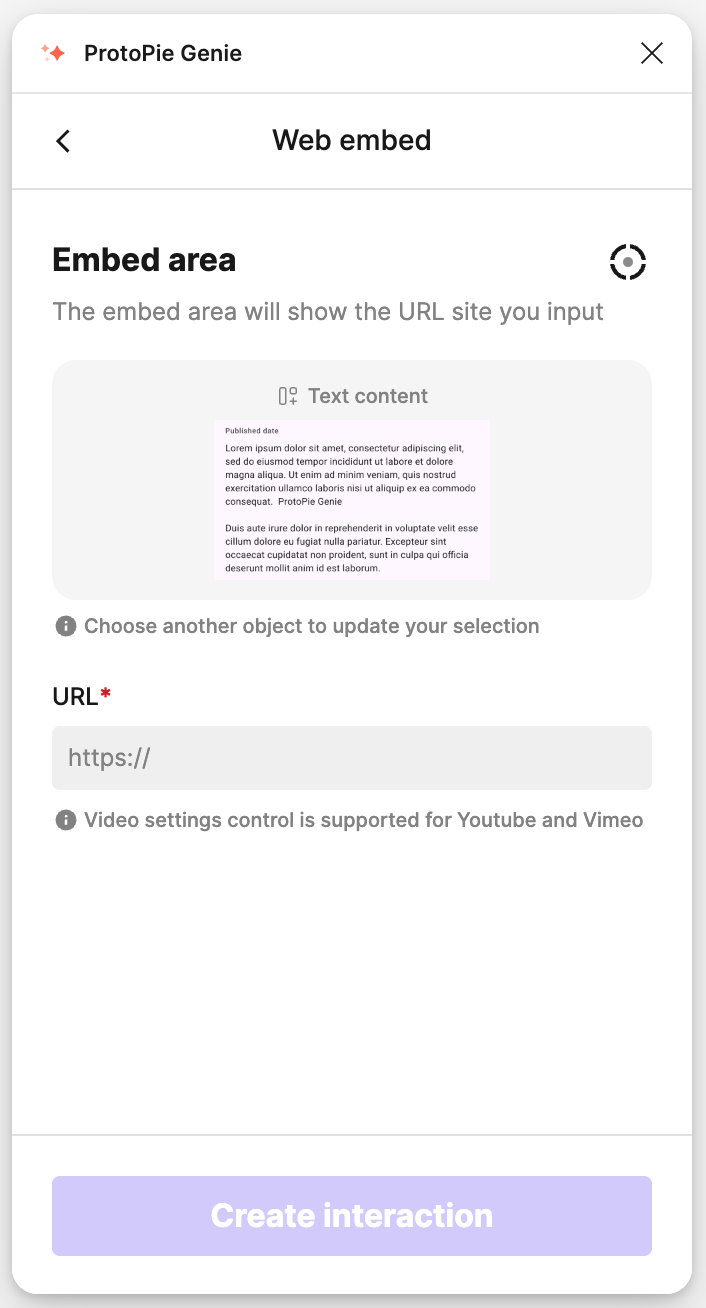
Steps:
- Choose a rectangle shape for the web embed.
- Enter the URL starting with
https://. YouTube and Vimeo links will show video control settings. - Click ‘Create interaction’ to add the web embed.
Previewing Interactions
Previewing interactions in Figma with the ProtoPie Genie plugin is straightforward. You can preview single and multiple interactions directly in your browser or device.
Previewing a Single Interaction
- Navigate to the “Interactions” tab to view the list of created interactions.
- Click “Preview” to open the selected interaction in your default browser.
- For device preview, click “Open in device” and scan the QR code.
Previewing Multiple Interactions
- In Figma, create a workflow in the “Prototype” tab and name it as needed.
- Return to the ProtoPie Genie plugin and open the “Interactions” tab.
- Select the appropriate workflow and click “Publish the selected flow” to preview all interactions.
Supported Figma Objects
The ProtoPie Genie plugin supports a wide range of Figma objects, including:
- Text
- Rectangle
- Frame
- Group
- Component
- Instance
- Boolean
- Vector
- Ellipse
Supported Figma Interactions
The ProtoPie Genie plugin seamlessly converts "On Click" and "Navigate to" Figma interactions during the preview, ensuring a comprehensive understanding of your design's interactive elements.
Unsupported Figma Objects & Properties
Certain Figma objects and properties are not currently supported:
- Unsupported Objects: Star, Line, Polygon, Video.
- Unsupported Properties: Visibility, Lock, Position, Size, Rotation, Opacity, Constraints, Fill (solid color & image), Borders, Shadow.
- Known limitation: Gradients, effects (blur, inner shadow, layer effects), object rotation, font issues, image sizing, and video support may have limitations.
ProtoPie Genie Player
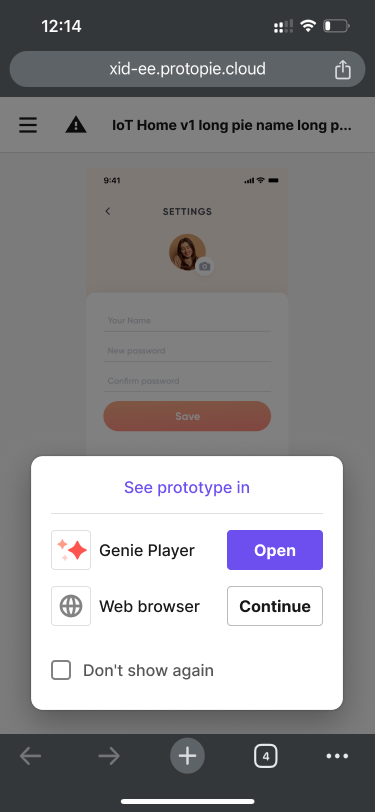
ProtoPie Genie Player is a free app designed to complement the ProtoPie Genie plugin for Figma. Easily view, experience, and test your prototypes on iOS or Android devices. Access prototypes stored in the cloud, save them locally, and more — all from your mobile or tablet device!
With ProtoPie Genie Player, you can now seamlessly preview and interact with your Figma prototypes in real-time on your device.
Get ProtoPie Genie Player for iOS and Android devices.
